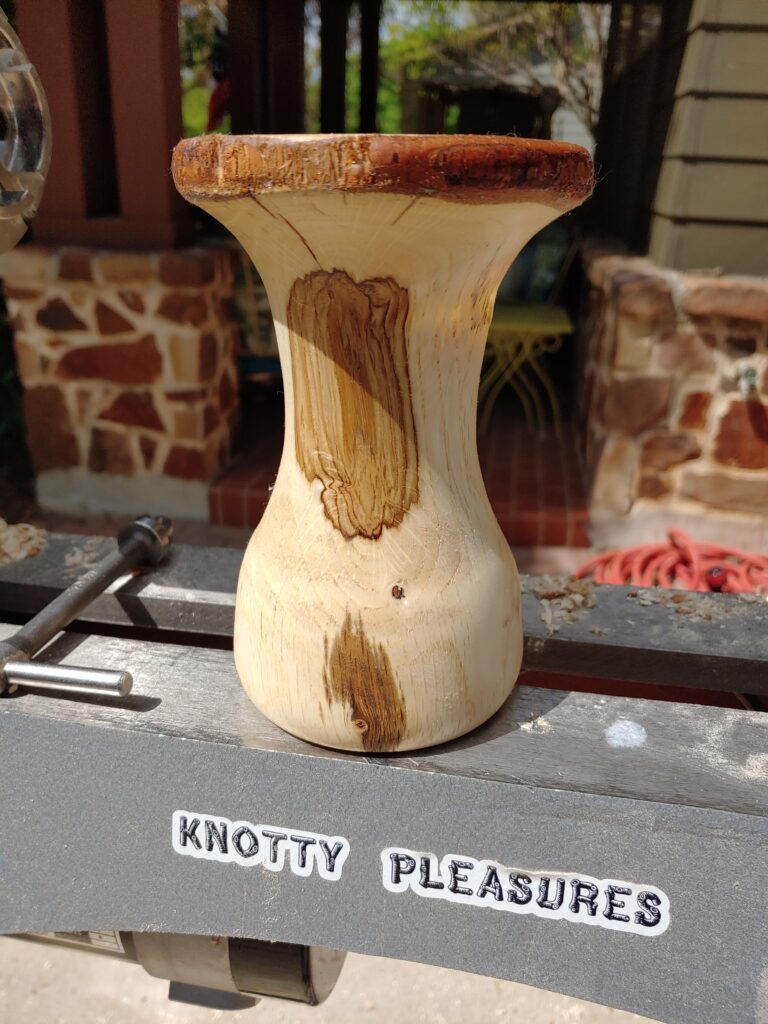
Remember that “knotty” log that decided to spin off and hit me in the shoulder? Well, it was time to show it who was really the boss.
I was as little smarter this time and cut off part of the knot that was causing a majority of the unbalance. That made it much better right from the start. I also made better holes for the drive chuck to center on as opposed to just mashing it onto the drive with the tail stock.

This is the first time I’ve used the drive chuck and not had it either spin freely at some point when I got too aggressive with my cuts or go flying off for one reason or another.
What’s even better was that I was able to rough out the shape in what felt like record time.

Once I turned it around for hollowing I did have it pop off the chuck once, but that was totally my fault for not re-checking how tight a grip was on the tenon. I made sure to check the grip every time I stopped drilling the center with the Forstner bit and tried opening up the top a little more to fit the drill chuck. ( I haven’t picked up an extension yet…)

It took longer to drill out the center than I thought it wood. Every few millimeters I had to pull the bit out and clear it and the hole. If I didn’t the hole started smoking. Patience was certainly a virtue here.
I knew it was time to stop widening the mouth when I realized that it was getting easier and easier to see into the vase itself. I was getting the wall thickness a little too thin in one spot and sunlight was coming through. To add to the effect I did work a little more on either side of the area after adding some CA glue to the area to help reinforce it.

Pulling it off the lathe and sawing off the tenon, it was time to think about finishes. I opted for Howard Product’s Feed-N-Wax and I think it was the right call. I’ll add a few more coats in the days to come.
In the end, I think it was a decent job and I showed that piece of wood who was really in charge.


